
Avoiding Custom Apparel Printing Issues: A Complete Guide
Table of Contents
- Why Custom Apparel Printing Fails: Common Root Causes
- Custom Apparel Artwork Requirements: Getting Files Right from the Start
- Design Sizing and Print Placement: Preventing Off-Center and Misaligned Prints
- How to Review a Custom Apparel Proof Before Approving
- Choosing the Right Printing Method for Your Garment and Design
- Custom Uniform Sizing Guide: Avoiding Returns and Fit Issues
- Ensuring Print Durability: Temperature, Pressure, and Curing
- Custom Apparel Order Checklist: A Pre-Production Workflow
- Frequently Asked Questions
Last Updated: October 12, 2026
Why Custom Apparel Printing Fails: Common Root Causes
Custom apparel printing issues stem from a handful of preventable mistakes that happen before the design ever touches a garment. Most failures trace back to artwork quality, file preparation, or mismatched expectations between what you want and what the printer can deliver.

The biggest culprit is poor artwork. A design that looks sharp on your phone screen often falls apart when enlarged for printing. Pixelation, blurry edges, and loss of detail are the most common complaints we see. The second major issue is choosing the wrong printing method for your garment and design. Screen printing works beautifully on cotton. Heat transfer looks crisp on dark shirts. Sublimation requires synthetic materials and won't work on natural fibers at all.
At Prime Sports, we help teams and organizations navigate these decisions before production even starts. Getting the fundamentals right upfront saves you money, time, and the frustration of unusable inventory.
The third reason custom apparel printing fails is poor communication between you and your printer. You approve a proof that doesn't match the final product. Colors shift. Print placement is off-center. Sizing doesn't match your expectations. These gaps happen when the approval process is unclear or when specifications aren't documented properly.
Custom Apparel Artwork Requirements: Getting Files Right from the Start
Your artwork is the foundation of a successful print. Bad artwork creates bad prints, no matter how skilled your printer is. Start with these core requirements.
Resolution and Image Quality Standards
Resolution determines how sharp your printed design will be. Low-resolution artwork prints blurry and pixelated. High-resolution artwork prints crisp and clean.
For custom apparel printing, use artwork at 200 dpi (dots per inch) minimum. This is the industry standard for print quality. At 200 dpi, fine details stay sharp and edges remain clean. If your artwork is lower than 200 dpi, you'll see pixelation, especially in small text or thin lines.

Check your artwork size at actual print dimensions. A design that looks good at 2 inches by 2 inches may fall apart when enlarged to 10 inches by 10 inches. Use design software to view your artwork at the exact size it will print. If you see jagged edges or fuzziness, your resolution is too low. Start over with higher-resolution source files.
Vector artwork is ideal when available. Vectors scale infinitely without losing quality. If you're working with photos or illustrations, ensure they're at least 300 dpi for the best results.
File Formats and Acceptable Formats
Different printing methods require different file formats. Using the wrong format creates unnecessary delays and can force you to start your design over.
For screen printing and heat transfer, use these formats:
- EPS
- AI
- TIFF
Avoid these formats for custom apparel printing:
- JPG (compresses image quality and loses detail)
- PNG (transparency can cause issues with some printing methods)
- Word documents or PowerPoint files (not designed for printing)
If your printer asks for a specific format, provide it. Different equipment has different requirements. A small request now prevents major problems later.
Color mode matters too. Use CMYK for process printing and screen printing. Use RGB only if your printer specifically requests it.
Design Sizing and Print Placement: Preventing Off-Center and Misaligned Prints
Print placement and sizing account for a huge portion of custom apparel printing issues. A design that's off-center by half an inch ruins the entire garment. Sizing it wrong makes the design look unprofessional.
Start by establishing clear sizing standards. Small designs work well on chests or sleeves. Large designs need back placement. Extra-large designs may require full-front or full-back coverage. Document these decisions before design work begins.
Use a template provided by your printer. Templates show you exactly where the design will sit on the garment, accounting for seams, necklines, and sleeve placement. If your printer doesn't provide a template, ask for one. This prevents costly surprises.
Mark registration marks (small crosshairs) on your artwork file if doing multi-color screen printing. Registration marks help printers align each color layer precisely. Misaligned colors create blurry, distorted designs.
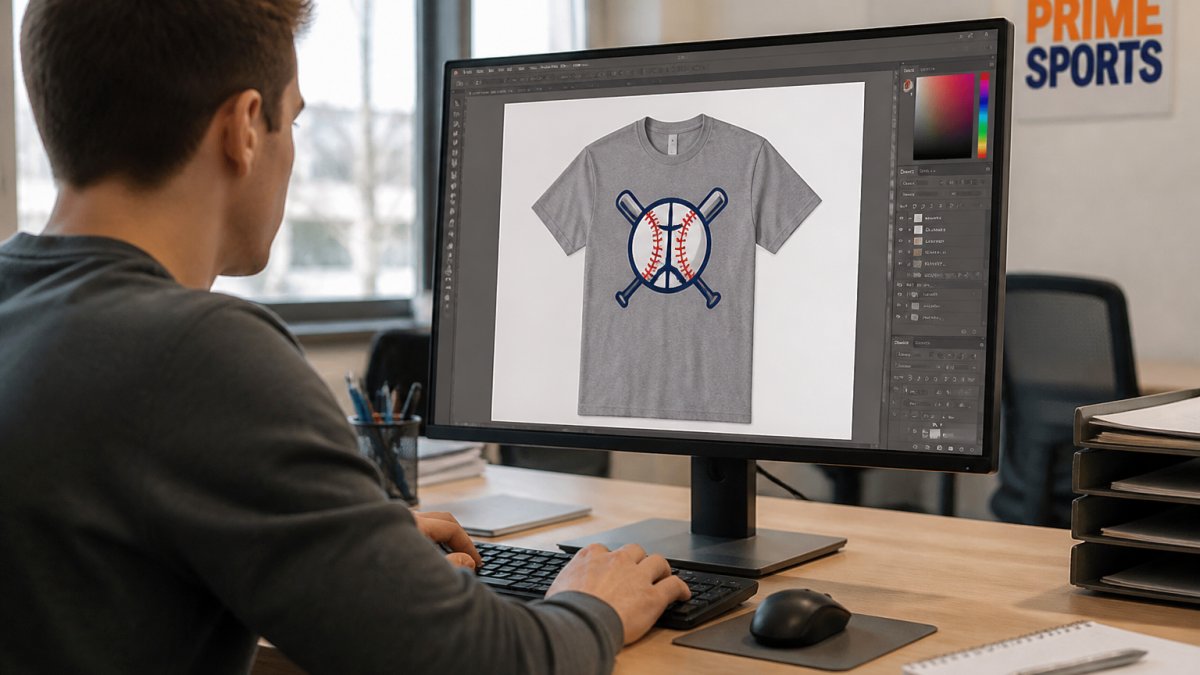
Test sizing on a mockup. Digital mockups show how your design looks on an actual garment before production. Review the mockup carefully. Check that text is readable, colors look right, and placement matches your vision.
How to Review a Custom Apparel Proof Before Approving
The proof is your last chance to catch problems before full production. Most custom apparel printing issues can be prevented with careful proof review.
Request a physical proof whenever possible.
When reviewing a proof, check these elements:
Design clarity and sharpness Look for pixelation, blurry edges, or loss of detail. Text should be crisp and readable. Fine lines should be clean, not fuzzy.
Color accuracy Compare the proof colors to your approved artwork. Colors may shift slightly due to fabric dye and ink interaction. Minor shifts are normal. Major shifts require reprinting.
Print placement Measure the distance from the neckline, sleeve, and side seams. Verify it matches your sizing standards. Off-center placement should be rejected before full production.
Registration alignment (for multi-color designs) Check that each color layer aligns perfectly with the others. Misaligned colors should be corrected.
Print coverage Ensure ink covers the entire design area evenly. Thin spots or gaps indicate adhesion problems that will worsen after washing.
Document your approval in writing. Photograph the proof. Keep records of what you approved. This protects you if issues arise after production.
Choosing the Right Printing Method for Your Garment and Design
Not all printing methods work equally well on all fabrics and designs. Choosing the wrong method creates problems that no amount of quality control can fix.
Screen Printing vs. Heat Transfer vs. Sublimation
Screen printing is ideal for cotton and cotton blends. It produces vibrant, durable colors that last through many washes. Screen printing works best for solid designs with limited colors. Each color requires a separate screen, so multi-color designs become expensive. Small orders don't justify the setup cost.
Heat transfer works on most fabrics, including polyester and blended materials. It's fast and affordable for small orders. Heat transfer captures detailed designs and photographs well. The downside: it can crack on stretchy fabrics and may fade faster than screen printing.
Sublimation produces the most vibrant, detailed results. It works only on synthetic fabrics (polyester, nylon, spandex). Sublimation dyes bond with the fabric itself, creating prints that won't crack or peel. It's ideal for athletic wear and performance apparel.
Matching Method to Fabric and Order Size
Cotton and cotton blends: Screen printing is a good choice. It's durable and produces excellent results. Heat transfer works too.
Polyester and synthetic blends: Heat transfer or sublimation.
Stretchy fabrics (spandex, lycra): Sublimation or specialized heat transfer designed for stretch.
Small orders (under 12 units): Heat transfer is cost-effective.
Large orders (50+ units): Screen printing is economical.
Custom Uniform Sizing Guide: Avoiding Returns and Fit Issues
Sizing problems create returns, unhappy customers, and wasted inventory. Use consistent sizing standards and provide clear guidance.
Establish a single sizing chart for your uniforms. Different manufacturers use different sizing standards. A medium from one brand may fit like a large from another. Document which brand you're using and reference that brand's official sizing chart.
Provide detailed measurements to customers. Include chest width, sleeve length, and total garment length. Let customers compare these measurements to their existing shirts. This reduces returns far more than generic size labels.
For team uniforms, collect actual measurements from team members before ordering. Don't assume sizes. Have players try on sample garments if possible. This prevents the nightmare scenario of ordering 30 uniforms that don't fit anyone.
Consider unisex versus fitted cuts. Unisex cuts are more forgiving but may not flatter all body types. Fitted cuts look better but require more accurate sizing. Document your choice and communicate it clearly.
Ensuring Print Durability: Temperature, Pressure, and Curing
Print durability depends on proper heat-press settings and curing time.
Heat transfer requires precise temperature control. Follow your transfer material's specifications exactly.
Pressure must be firm and even across the entire design.
Press time varies by transfer type and fabric. Check your material's instructions.
Curing time matters too. After pressing, allow the garment to cool completely before handling.
For screen printing, proper curing prevents cracking and fading. Follow your ink manufacturer's curing guidelines.
Custom Apparel Order Checklist: A Pre-Production Workflow
Use this checklist to prevent custom apparel printing issues before they happen. This is the most effective quality control tool available.
Design and Artwork Phase
- Artwork is 200 dpi minimum (300 dpi preferred)
- Design file is in correct format (PDF, EPS, or AI)
- Color mode is CMYK for printing
- Artwork has been reviewed at actual print size
- No pixelation or blurry edges visible
Sizing and Placement Phase
- Print size is documented in writing
- Print placement is marked on a template
- Design is centered and aligned properly
- Placement has been approved by all stakeholders
- Mockup has been reviewed and approved
Garment Selection Phase
- Garment material has been tested with chosen printing method
- Sizing chart has been selected and documented
- Sample garment has been ordered and approved
- All team members or customers have provided measurements
- Garment color is final and locked in
Printing Method Phase
- Printing method matches garment type and design complexity
- Method is appropriate for order size
Proof and Approval Phase
- Physical proof has been received and reviewed
- Colors match approved artwork
- Print placement is correct
- Sharpness and detail meet standards
- Approval has been documented in writing
Production and Quality Control Phase
This workflow prevents the vast majority of custom apparel printing issues. It takes time upfront but saves exponentially more time and money on reprints and returns.
Avoiding custom apparel printing issues comes down to preparation and communication. Get your artwork right, choose the correct printing method, and establish clear approval processes. At Prime Sports, we help teams and organizations build custom apparel orders that look professional and last through a full season. Our team guides you through every step, from design specifications to final quality checks, so your uniforms arrive ready to wear. Shop new arrivals and explore our custom apparel solutions today.
Frequently Asked Questions
What file format and resolution should artwork be for custom apparel printing?
Artwork should be at least 200 DPI (dots per inch) for sharp, crisp prints without pixelation. Acceptable file formats include PDF, AI (Adobe Illustrator), EPS, and high-resolution JPG or PNG files. If submitting JPG or PNG, ensure the image dimensions match your intended print size at 200 DPI minimum.
How can you prevent custom apparel printing mistakes when ordering?
Use a custom apparel order checklist before submitting designs. Verify artwork resolution (200 DPI minimum), confirm file format compatibility, check design sizing against print placement standards, and review color specifications. Request a sample approval or proof before full production runs. Communicate sizing standards with your vendor, provide clear reference images or mockups, and document all approvals in writing.
What should you check on a custom apparel proof before approving it?
Review the proof for color accuracy and alignment. Check that names and numbers are sized correctly and centered on the garment. Verify print placement matches your design specifications and doesn't overlap seams or collar areas. Examine line thickness and detail clarity, especially for small text or intricate logos. Confirm that the garment color and fabric match your order. Request a physical sample if possible rather than relying solely on digital mockups.
How can you avoid sizing problems in a team uniform order?
Request a detailed custom uniform sizing guide from your vendor that shows measurements for each size across different manufacturers. Collect accurate measurements from all team members before ordering, not just t-shirt sizes. Order sample sizes in advance to verify fit before committing to full production. Document sizing preferences in writing and confirm them with your vendor before production begins.